Basic SEO in Statamic
Basic search engine optimization in Statamic can be just as easy as the rest of your website. While it’s possible to add all of the bells and whistles, these can come later. Maybe you just need some of the basics for now, so let’s take a look at a simple way we can approach this.
Start with a Fieldset
Just like we might configure a Fieldset to handle a group of fields for a particular collection’s Blueprint (e.g. the “title” and “content” fields for the blog), we can create a new Fieldset specifically for SEO purposes.
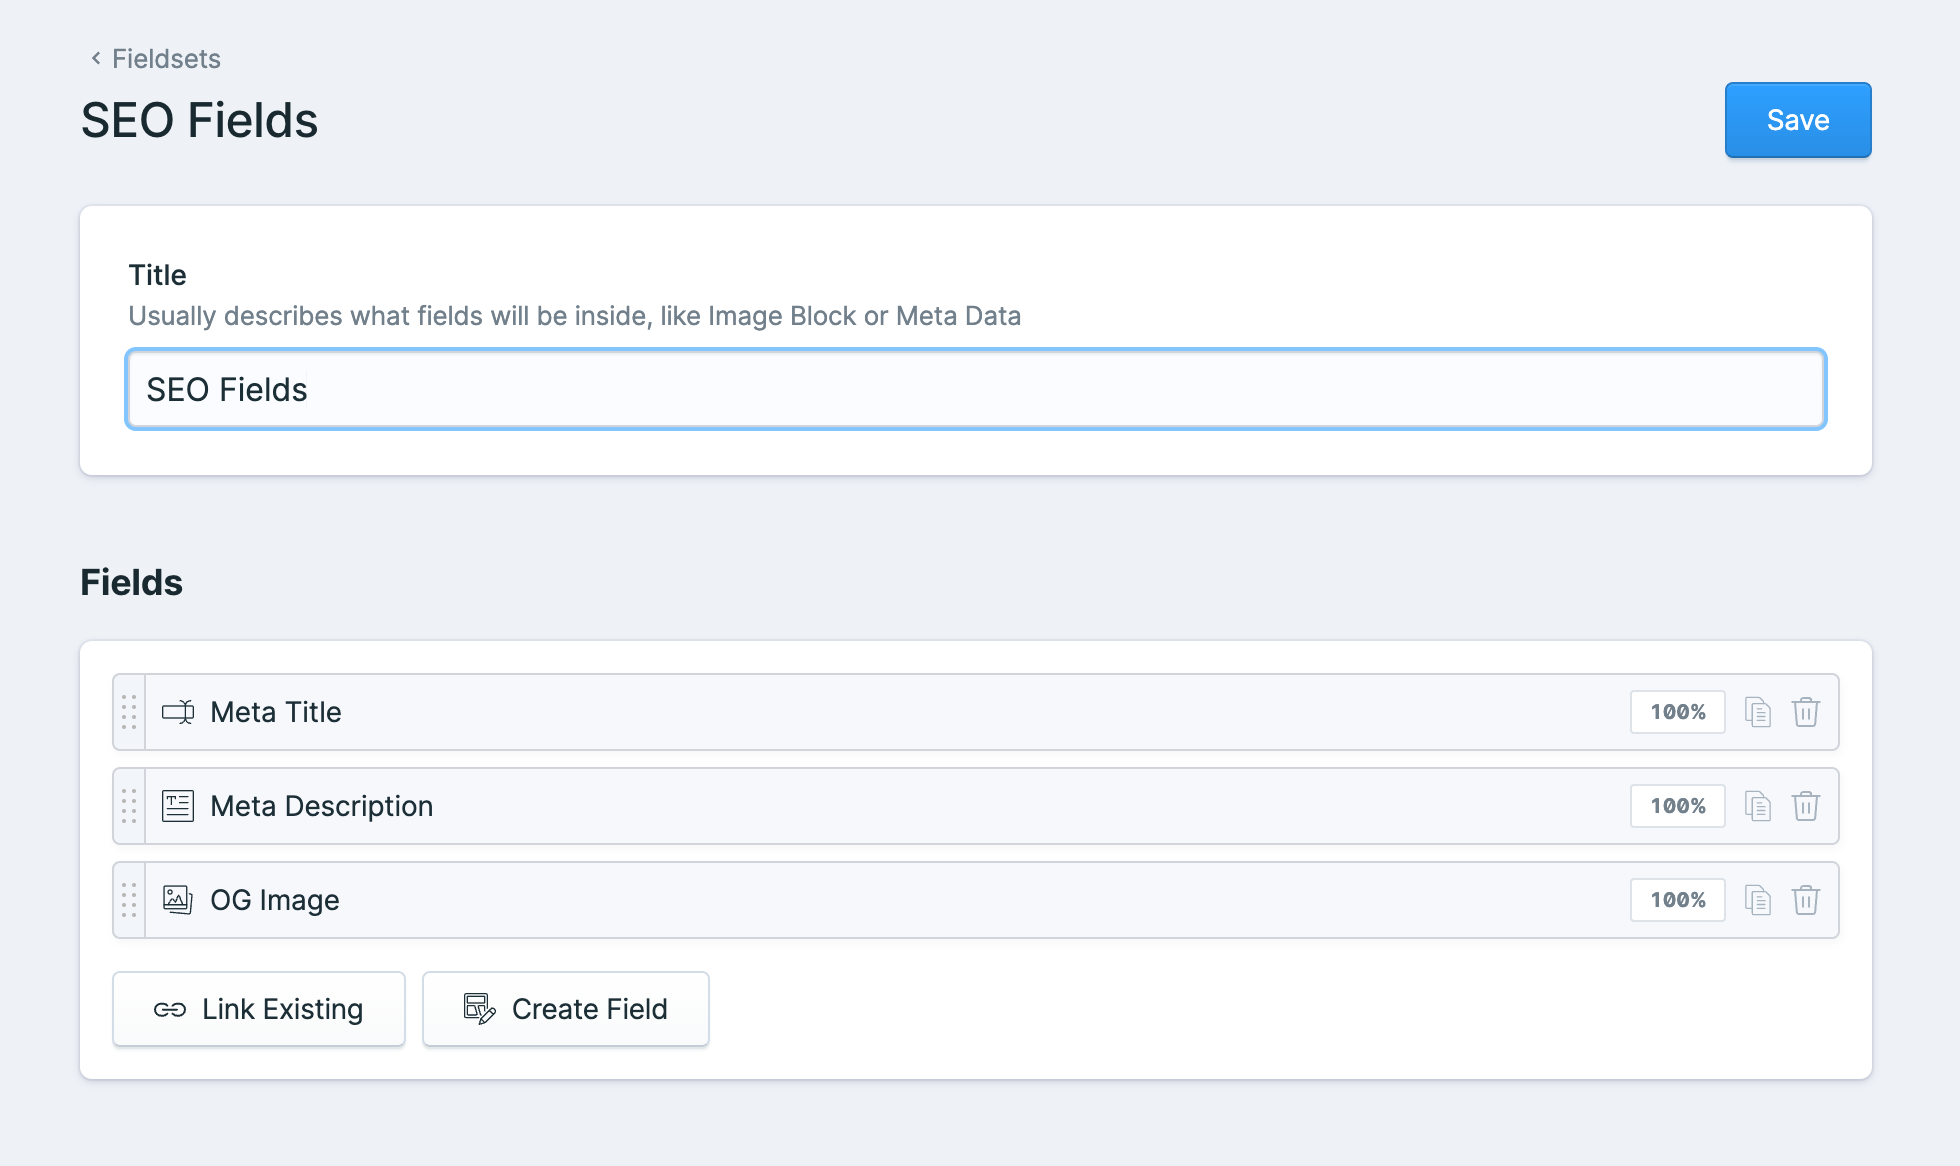
In my work-in-progress Starter Kit, I have a Fieldset called, you guessed it, “SEO Fields.” To keep things on the simple side, we’ll stick with just a few fields for now: “Meta Title,” “Meta Description,” and “OG Image.” This example might look like the following inside your fieldsets:

Add to the Blueprint
Next, we will bring this fieldset into a Blueprint for the collection in which we wish to make use of this.
In this case, we’ll go with the Blog collection; my Blog collection already has some other Fieldsets connected that are specific to it. Perhaps our SEO fields might be used elsewhere, which is why we’ll keep them as a separate Fieldset, so that we can include them on their own wherever that may be.
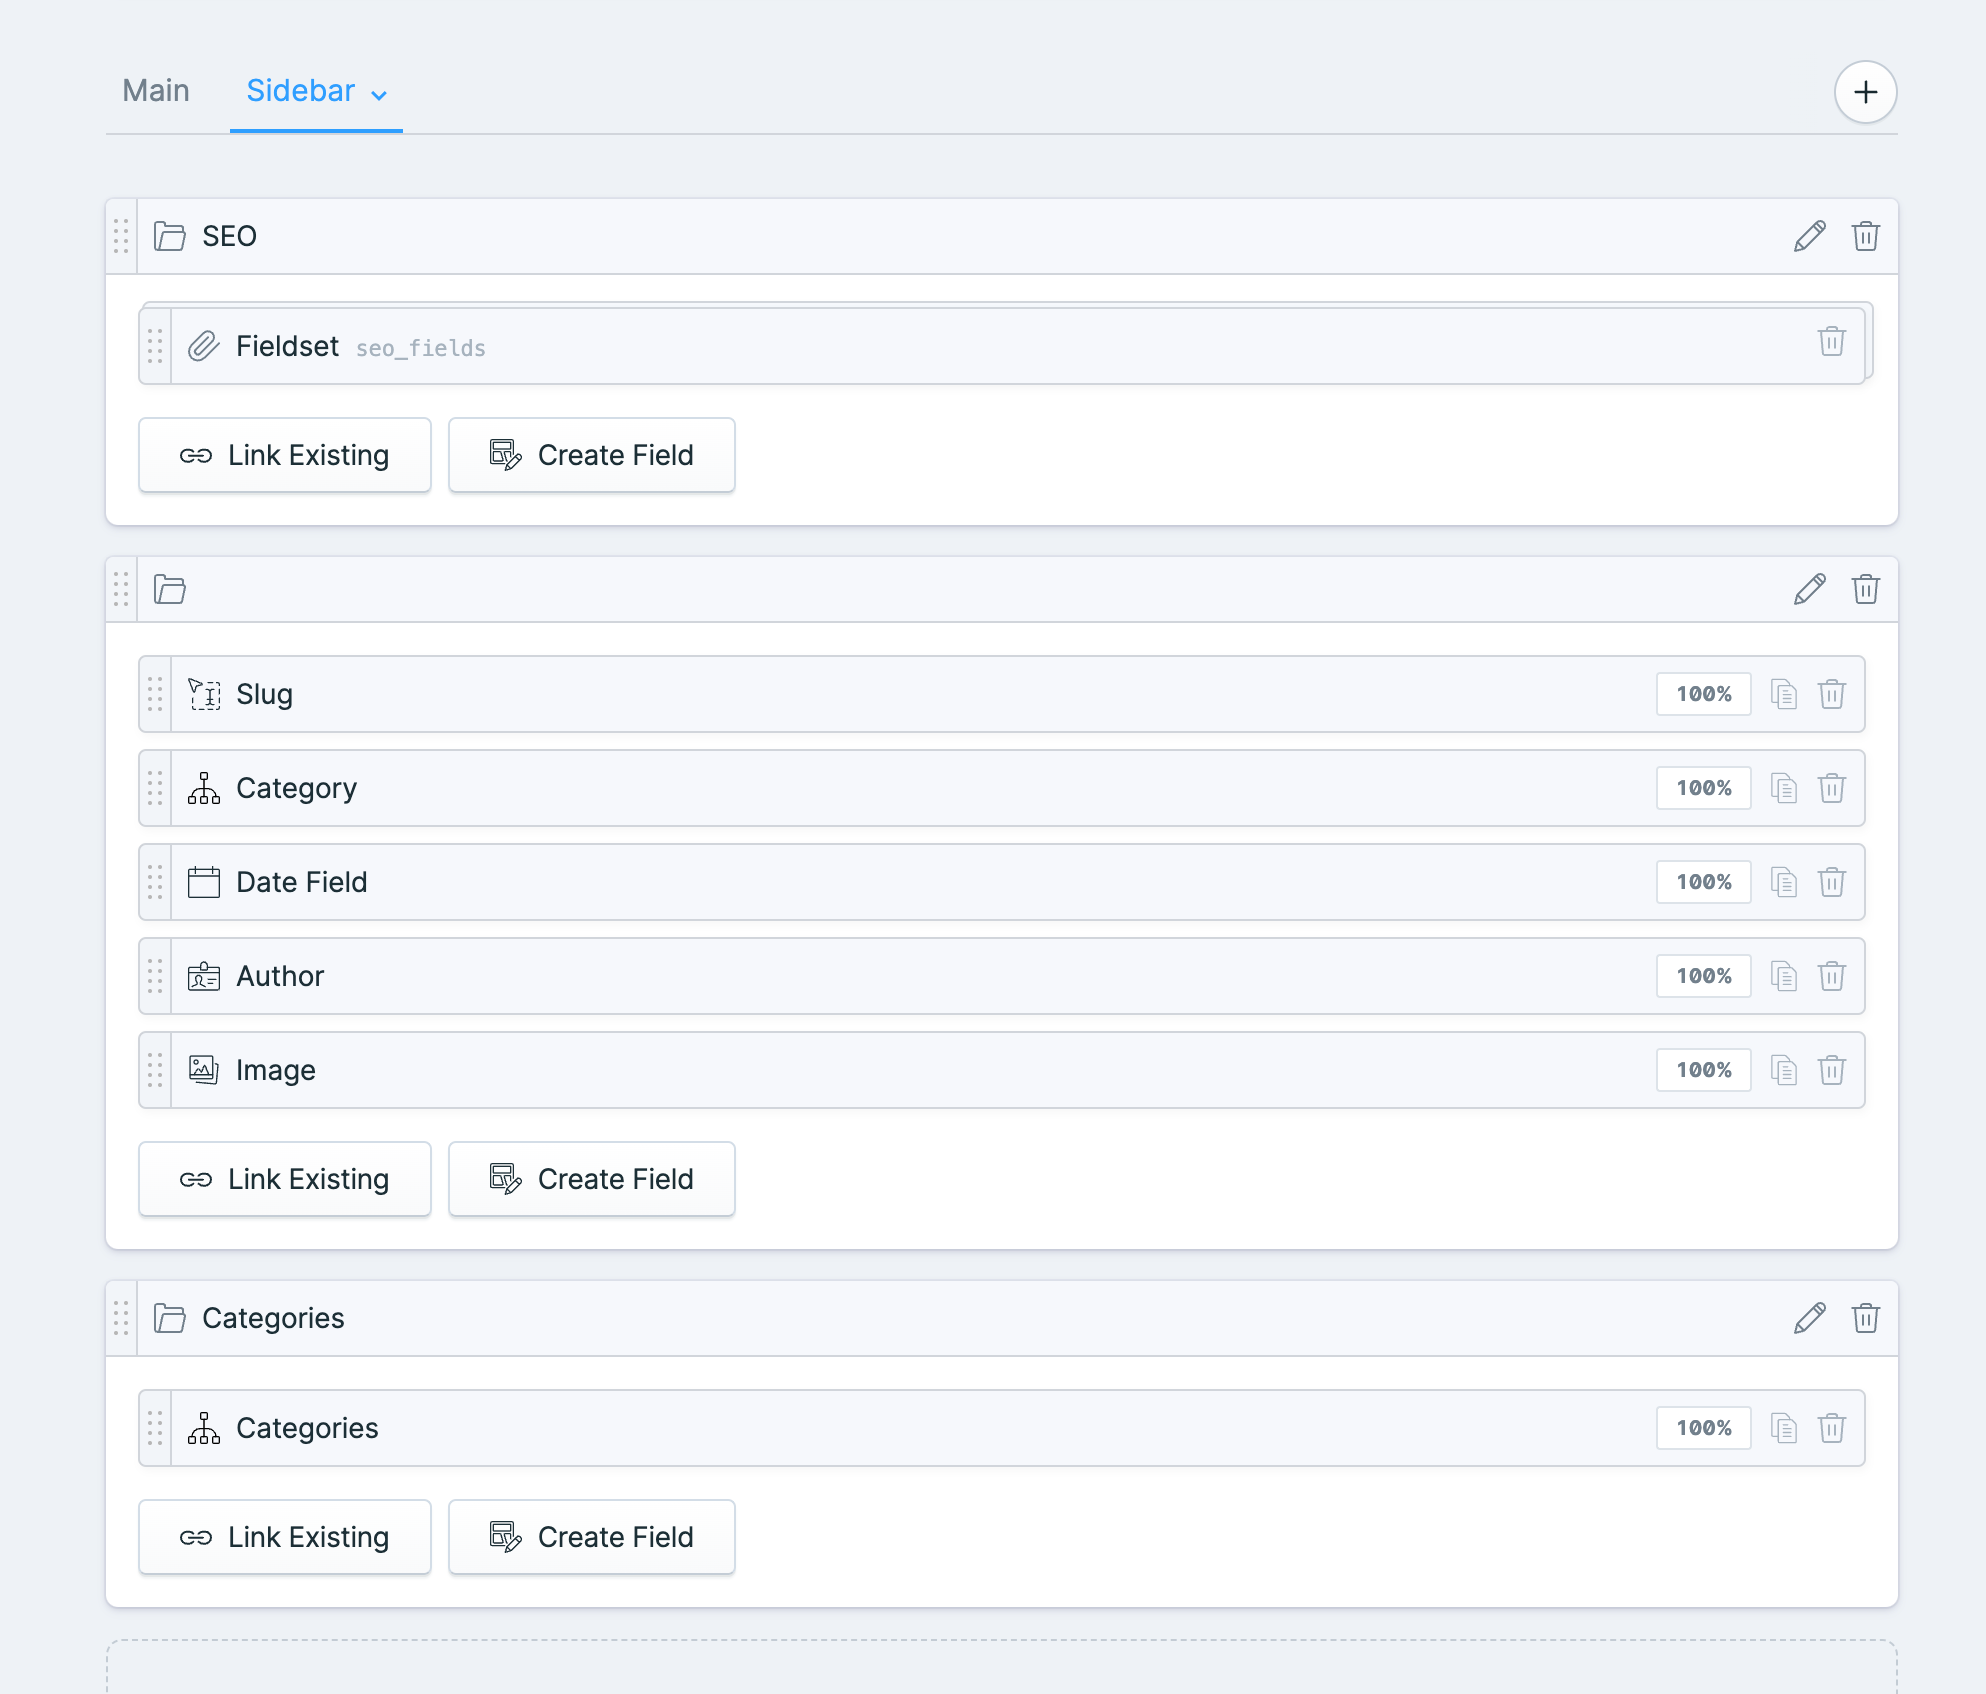
Our Blog collection Blueprint might look like this:

Notice that the “sidebar” tab is active at the top — this is to configure where it appears in the control panel when editing; we created an SEO “section” above some other default fields, so that it will be visually separated in its own area of the screen, right at the top.
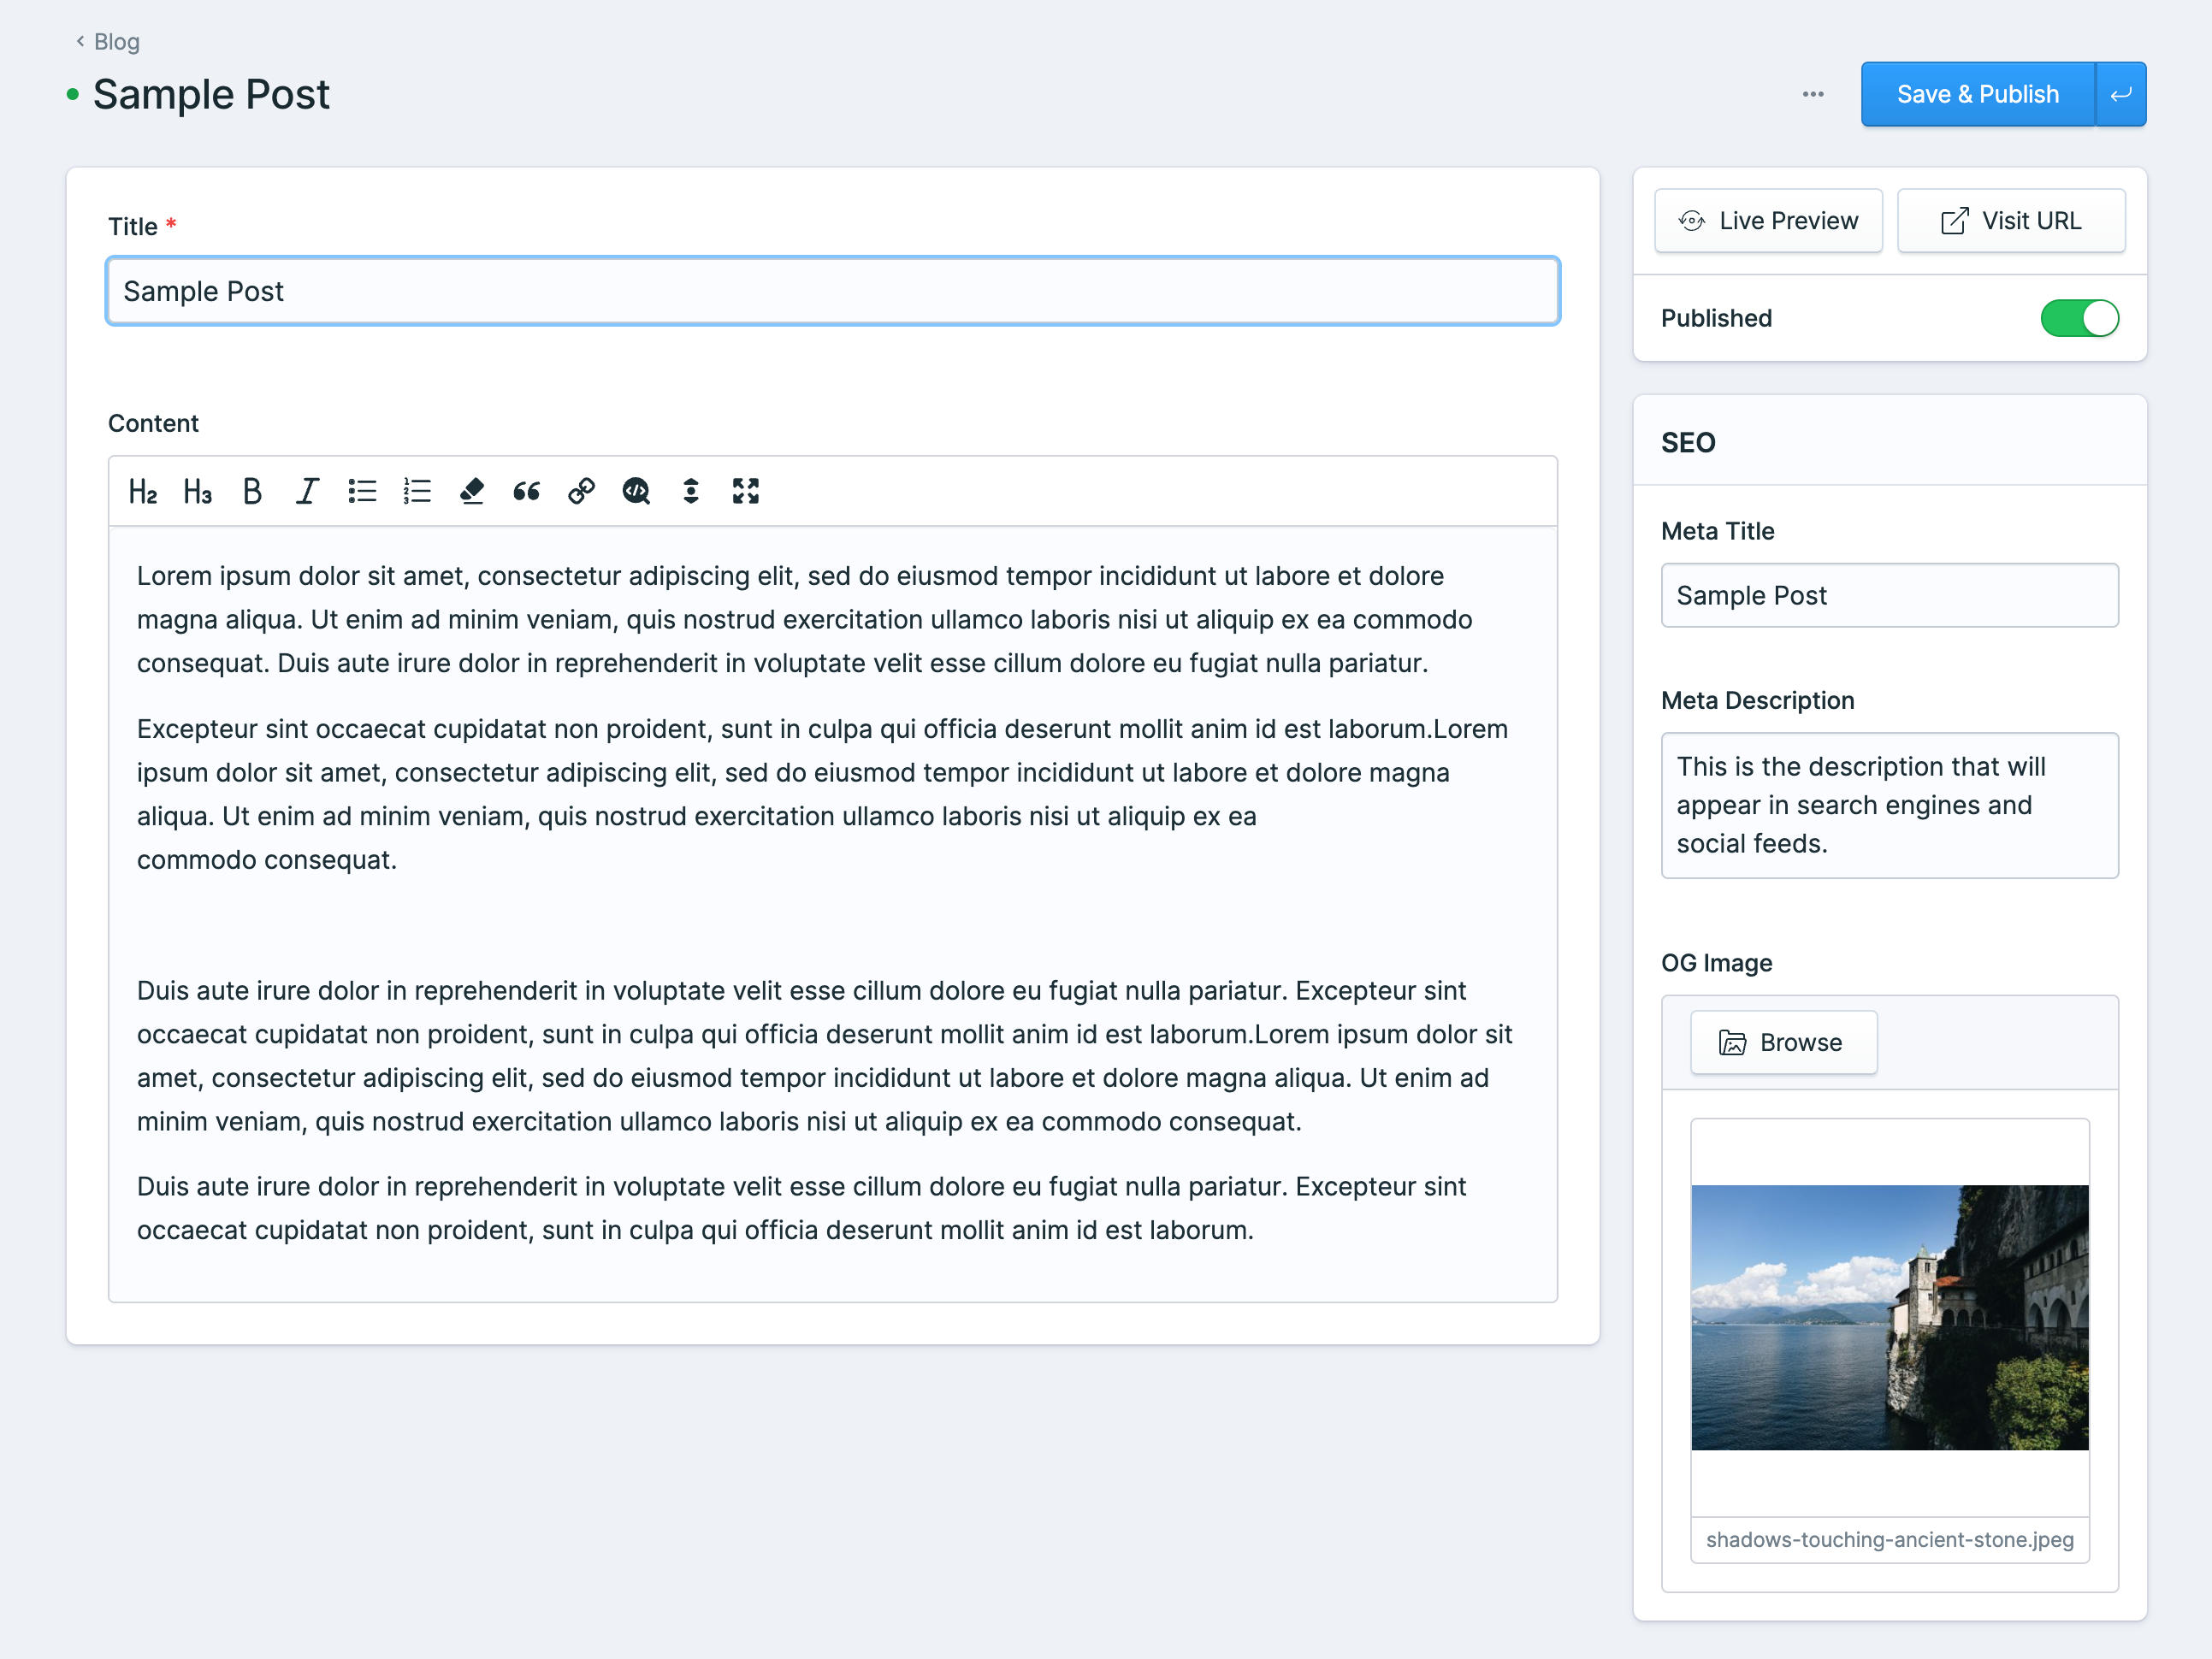
Finally, the edit screen for the entry will look like this:

Create an SEO partial
In order to actually get this content to output to the page, we need to get some code in there. In my Starter Kit, I have a file in for this here: views/layout/_seo.antlers.html
<title>{{ meta_title ?? title }} | {{ site:name }}</title>
<meta name="og:title" content="{{ meta_title ?? title }} | {{ site:name }}" />
{{ if meta_description }}
    <meta name="og:description" content="{{ meta_description }}" />
{{ /if }}
{{ if og_image }}
    <meta name="og:image" content="{{ og_image:url }}" />
{{ /if }}
This partial gets added to the Layout template for whatever collection has this Blueprint connected to it. My layout.antlers.html file is the place. Even though we’ve only discussed the Blog collection, in reality my other collection, Pages, will also share this Fieldset on its Blueprint. Thus, every Page or Blog Post entry can leverage this SEO Fieldset with this template.
<!doctype html>
<html lang="{{ site:short_locale }}" class="antialiased scroll-smooth">
    <head>
        <meta charset="utf-8">
        <meta http-equiv="X-UA-Compatible" content="IE=edge">
        <meta name="viewport" content="width=device-width, initial-scale=1">

        {{ partial:layout/seo }}
Of course, as the title of this post indicates, this is the most basic level of SEO that could be conceived. There’s plenty missing of course, such as social images/descriptions since Facebook and X or LinkedIn might have their own requirement for OG meta tags for example. Not to mention XML sitemaps and more.
Consider using an Addon
You could certainly carry on in this direction to customize your project exactly the way that you would like to have it. Alternatively, if all of this feels like way too much work for you, consider using an addon from the marketplace.
Maybe you’re already familiar with the popular Peak Starter Kit, which comes with its own SEO addon that you could install separately, for free!
It comes with everything we looked at above and more - tons of bells and whistles to get you a great leg up, while using the same baked-in fields approach. You can even customize it to your project by publishing the views into your project directly for you to edit. Go ahead and check out how to do that - I will likely be going this route in my own starter kit since it’s such a great project.
Addons like this make Statamic development a breeze, and make us feel like superheros.
